Making a cute bear in a sailor outfit is quite simple with this amigurumi bear free pattern, a pattern from my occupations collection in which there are many cute animals with other outfits. Click here if you want to find out more about it.
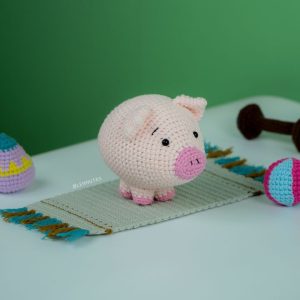
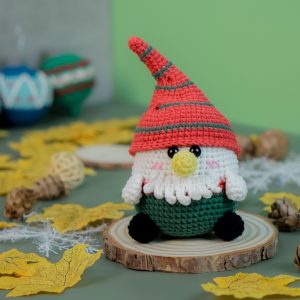
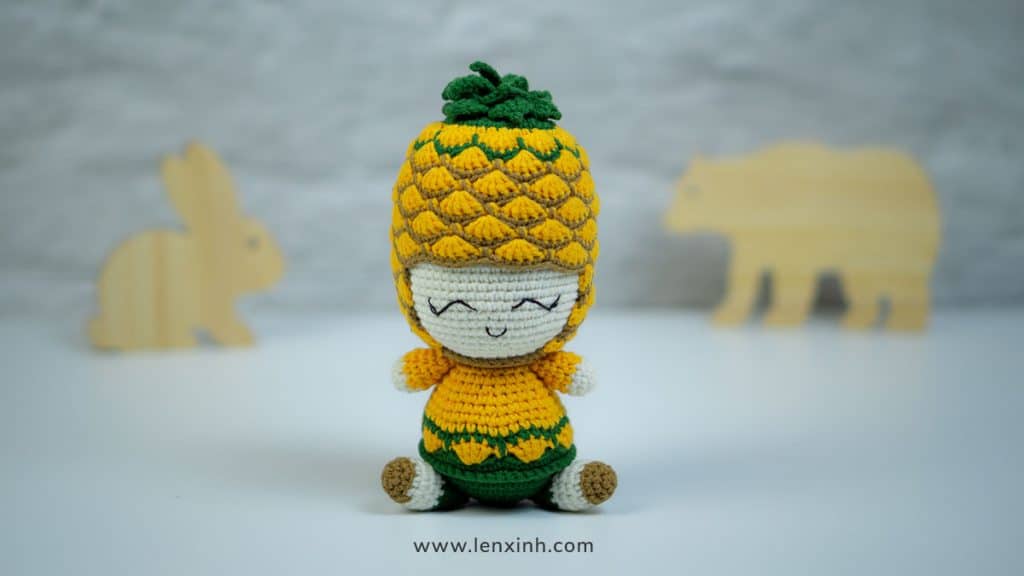
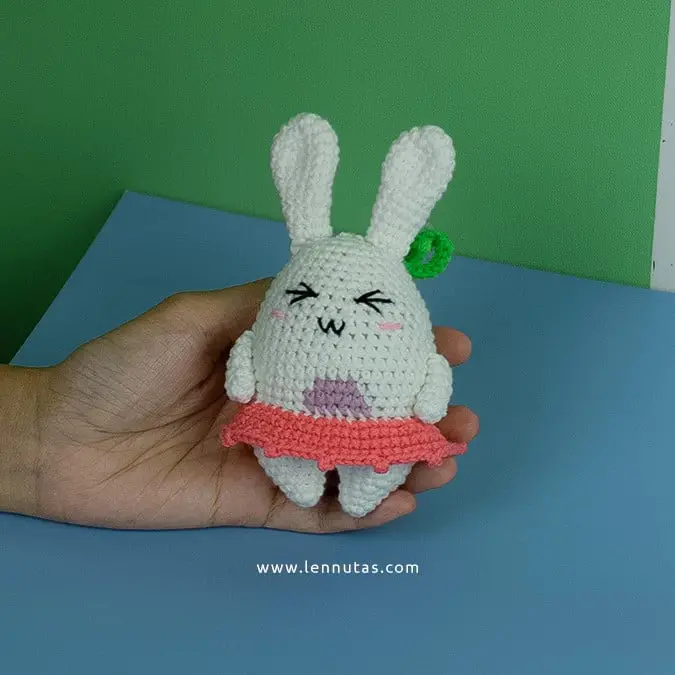
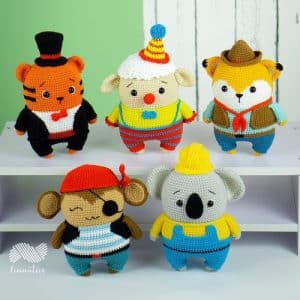
Below are the gallery of all 15 animals in different occupation outfits. Which job do you prefer most?


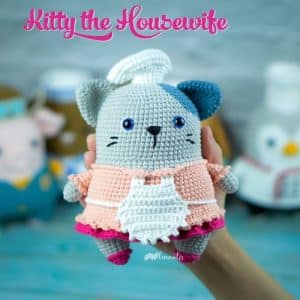
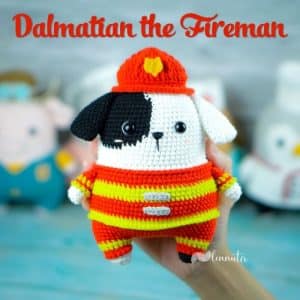
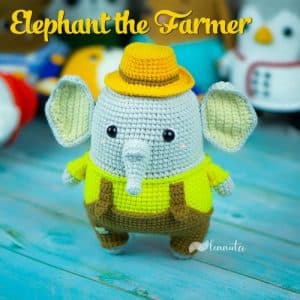

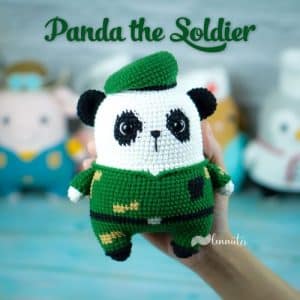

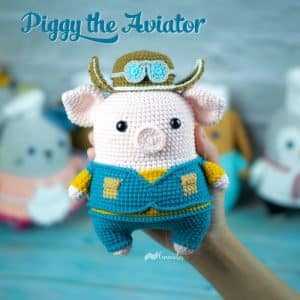
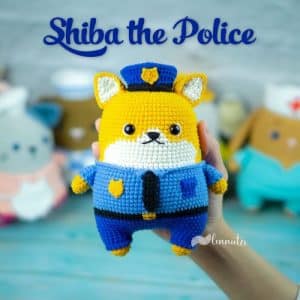
Or you can bookmark this page by pressing Ctrl+D (Windows) or Cmd+D (Mac)
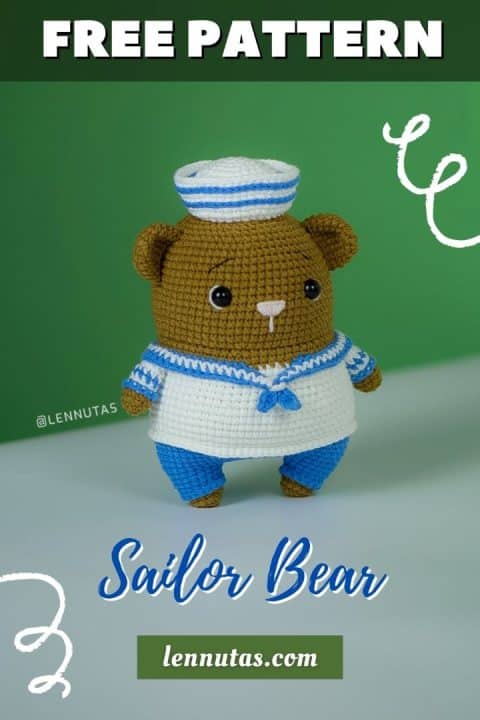
Amigurumi Bear PDF Pattern
Amigurumi bear free pattern is shared below but if you want to download a beautiful no-ads pattern PDF file, please click the following button.

Print-ready PDF File
The pattern is available in English, with many photo tutorials and well-written step-by-step patterns. Instant download after payment.
[Copyright Notice] This pattern was written, designed, and copyright held by, Lennutas. You are not permitted to copy, share, edit, upload or redistribute this pattern in any way, this includes making video tutorials or translating into other languages. Personal use only.
Amigurumi Bear Free Pattern
Get started with amigurumi bear free pattern.
Pattern Notes
This pattern is written using US TERM. For beginners, learn more about all basic crochet stitches for beginners in making amigurumi toys.
- MR: Magic ring/ Magic circle
- Rnd/ Rnds: Round(s)
- Ch: Chain stitch
- Sc: Single crochet stitch
- Inc: Single crochet increase stitch
- Dec: Single crochet decrease stitch
- Dc: Double crochet stitch
- Hdc: Half double crochet stitch
- BLO: Back loop only
- FLO: Front loop only
- St/ sts: Stitch/ Stitches
- Ss: Slip stitch
- […] … x time: Repeat instructions x times
- (…): Number of stitches of each round
Taking a crochet amigurumi course is an excellent way to learn a new skill, improve your crochet techniques, and create something unique and adorable. Don’t miss the chance to take a crochet amigurumi course! With expert guidance and hands-on practice, you’ll gain the skills and confidence to create your own adorable designs. Join now and let’s unleash your creativity together!
This yarn is my favorite yarn for making most of my amigurumi toys. And this time is not an exception, I use this 4-ply yarn and buy it online easily on ETSY. I use these colors: brown, white, and blue. Try with your favorite colors if you like. I’m also using hook size 2.3 mm and Hamanaka is one of my favorite brands, find and buy Hamanaka hook on ETSY.
- Premium yarns with 86 colors
- Another premium yarn with 89 colors
- Make larger size with this softy and chunky yarn
Try with other sport weight yarns that you have been familiar with. I recommend using Yarnart Jeans as an alternate, buy online at the cheapest price here. Besides, you will need some extra kinds of stuff as follows:
- Scissors, pins, needles, stuffings.
- Pair of safety eyes: size 10 mm.
If you are looking for the best yarn for amigurumi projects? Read the post about my best yarn for amigurumi to find out more.
- For a better result, use single crochet cross stitch (yarn under) and invisible crochet decrease stitch.
- Work in a continuous spiral.
- Only do BLO for stitches were written in the bracket ().
Legs (x2)
Start with brown yarn
- Rnd 1: sc 6 into MR (6sts)
- Rnd 2: inc 6 (12sts)
- Rnd 3: sc 12 (12sts)
- Rnd 4: [inc, sc 3] 3 times (15sts)
Change to blue yarn, leave a 50cm tail to make the hem (or you can join yarn later)
- Rnd 5: sc 15 (15sts)
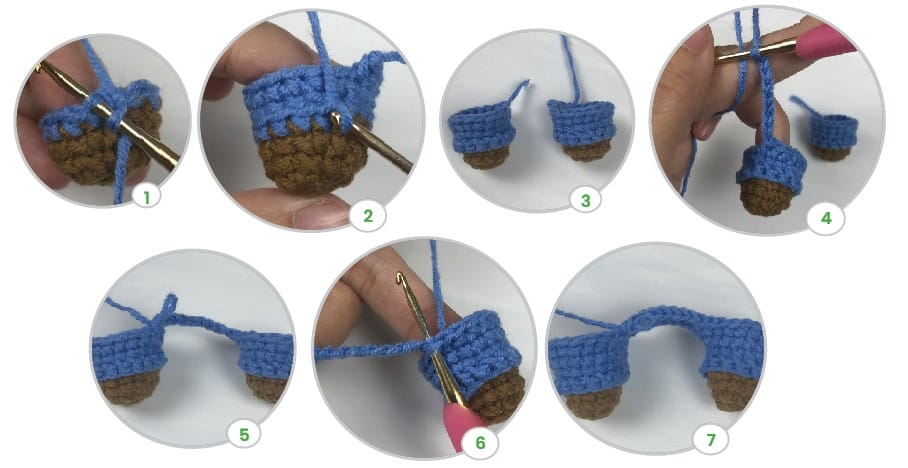
Place the blue yarn tail at the front (image-1)
- Rnd 6: BLO [inc, sc 4] 3 times (18sts)
- Rnd 7: sc 18 (18sts)
To make the hem: use the blue yarn tail (image-2)(or join yarn to the remaining loop of round 5), make sure brown part is facing you: FLO sc 15 (15sts)
Fasten off and weave in ends. (image-3)
For the second leg: do not fasten off.
Body
Continue from the second leg
- Ch 9 (image-4), join to the first leg (image-5)
- Rnd 8: sc 18 (1st leg), sc 9 (on chain)(image-6), sc 18 (2nd leg), sc 9 (on chain) (54sts) (image-7)
- Rnd 9: [inc, sc 8] 6 times (60sts)
- Rnd 10: [inc, sc 9] 2 times, inc, [inc, sc 3] 2 times, inc, [inc, sc 9] 3 times (69sts)
- Rnd 11-14(4 rnds): sc 69 (69sts)
Change to white yarn
- Rnd 15: sc 22, [inc, sc 7] 3 times, sc 23 (72sts)
- Rnd 16: BLO sc 72 (72sts)
- Rnd 17-21(5 rnds): sc 72 (72sts)
- Rnd 22: sc 24, [dec, sc 5] 3 times, sc 27 (69sts)
- Rnd 23: sc 69 (69sts)
- Rnd 24: sc 31, (BLO sc), sc 37 (69sts)
- Rnd 25: sc 30, (BLO sc), sc, (BLO sc), sc 36 (69sts)
- Rnd 26: sc 29, (BLO sc), sc 3, (BLO sc), sc 35 (69sts)
Change to blue yarn (change to brown yarn on BOLD stitches)
- Rnd 27: sc 24, dec, sc 2, (BLO sc), sc, dec, sc 2, (BLO sc), sc, dec, sc 31 (66sts)
Change to brown yarn
- Rnd 28: (BLO sc 27), sc 6, (BLO sc 33) (66sts)
- Rnd 29: [dec, sc 9] 6 times (60sts)
- Rnd 30: ss 60 (60sts)
Do not fasten off.
Collar
Start with blue yarn
- Ch 6
- R1: joining to the remaining loop of round 23 (make sure the legs are facing you) and do FLO: ch 1, sc into the remaining loop of round 24, sc into the remaining loop of round 25, sc into the remaining loop of round 26, sc 60 into the remaining loop of round 27, sc into the remaining loop of round 26, sc into the remaining loop of round 25, sc into the remaining loop of round 24, ss into the remaining loop of round 23, ch 8. Do not fasten off.
- R2: joining white yarn into the 1st chain of row 1, sc to the next stitch, sc 65, ch 3
Fasten off, leave a long tail for sewing.
- R3: continue from row 1 (neck is now facing you), ss into the 2nd chain from the hook, sc, hdc, dc 2, hdc, sc, ss 3, sc 4, hdc 5, dc 42, hdc 5, sc 4, ss 3, (on chain) sc, hdc, dc, hdc, sc, ss.
Fasten off and weave in ends.
Using the tail of row 2 to tie the blue bow.
Hem
Joining white yarn to the remaining loop of round 15 (make sure the legs are facing you) and do: FLO sc 72 (72sts)
Fasten off and weave in ends.
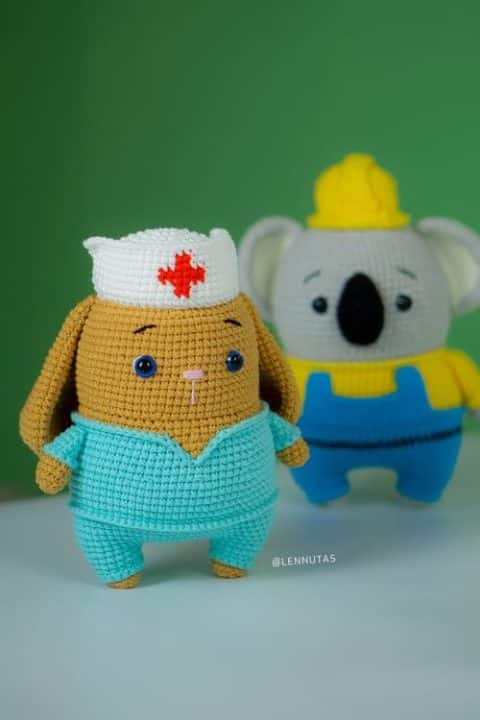
The bunny in the nurse outfit is also another free pattern that you can view in my blog.
Head
Continue from body, work in slip stitches
- Rnd 31: [inc, sc 9] 6 times (66sts)
- Rnd 32-43(12 rnds): sc 66 (66sts)
Place the safety eyes between round 37 and 38 with 12sts apart. Start stuffing
- Rnd 44: [dec, sc 9] 6 times (60sts)
- Rnd 45: [dec, sc 8] 6 times (54sts)
- Rnd 46: [dec, sc 7] 6 times (48sts)
- Rnd 47: [dec, sc 6] 6 times (42sts)
- Rnd 48: [dec, sc 5] 6 times (36sts)
- Rnd 49: [dec, sc 4] 6 times (30sts)
- Rnd 50: [dec, sc 3] 6 times (24sts)
End stuffing.
- Rnd 51: [dec, sc 2] 6 times (18sts)
- Rnd 52: [dec, sc] 6 times (12sts)
- Rnd 53: dec 6 (6sts)
Fasten off and weave in ends.
Arms (x2)
Start with brown yarn
- Rnd 1: sc 5 into MR (5sts)
- Rnd 2: inc 5 (10sts)
- Rnd 3-4(2 rnds): sc 10 (10sts)
Change to white yarn
- Rnd 5: sc 10 (10sts)
- Rnd 6: BLO sc 10 (10sts)
Change to blue yarn
- Rnd 7: sc 10 (10sts)
Change to white yarn
- Rnd 8-9(2 rnds): sc 10 (10sts)
- Rnd 10: sc 8 (8sts) – leave 2sts unworked.
Fasten off, leave a long tail for sewing.
To make the cuff: joining the blue yarn to the remaining loop of round 5, make sure brown part is facing you and do: FLO sc 10 (10sts)
Fasten off and weave in ends.
Stuffing lightly.
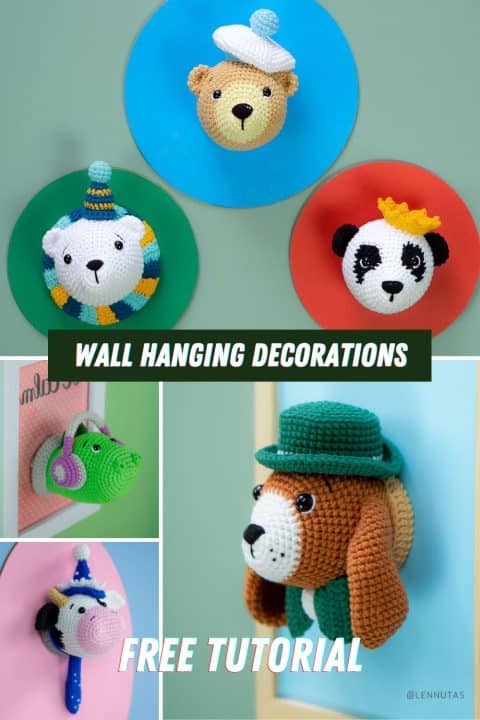
Love making more bear amigurumi toys? I will show you how to make a wall hanging with cute animal heads in the above photo.
Ears (x2)
Use brown yarn
- Rnd 1: sc 6 into MR (6sts)
- Rnd 2: inc 6 (12sts)
- Rnd 3: [inc, sc] 6 times (18sts)
- Rnd 4-7(4 rnds): sc 18 (18sts)
Fasten off, leave a long tail for sewing. Do not stuff.
Hat
Start with white yarn
- Rnd 1: sc 6 into MR (6sts)
- Rnd 2: inc 6 (12sts)
- Rnd 3: [inc, sc] 6 times (18sts)
- Rnd 4: [inc, sc 2] 6 times (24sts)
- Rnd 5: [inc, sc 3] 6 times (30sts)
- Rnd 6: [inc, sc 4] 6 times (36sts)
- Rnd 7-11(5 rnds): sc 36 (36sts)
Turn your work upside down and do:
- Rnd 12: FLO sc 36 (36sts)
- Rnd 13: [inc, sc 5] 6 times (42sts)
- Rnd 14: sc 42 (42sts)
- Rnd 15: [inc, sc 6] 6 times (48sts)
- Rnd 16-17(2 rnds): sc 48 (48sts)
Fasten off, leave a long tail for sewing.
Joining blue yarn to the space between round 16 and 17 and do: ss 48 (48sts)
Doing the same with the space between round 14 and 15: ss 42 (42sts)
Fasten off and weave in ends.
ASSEMBLY
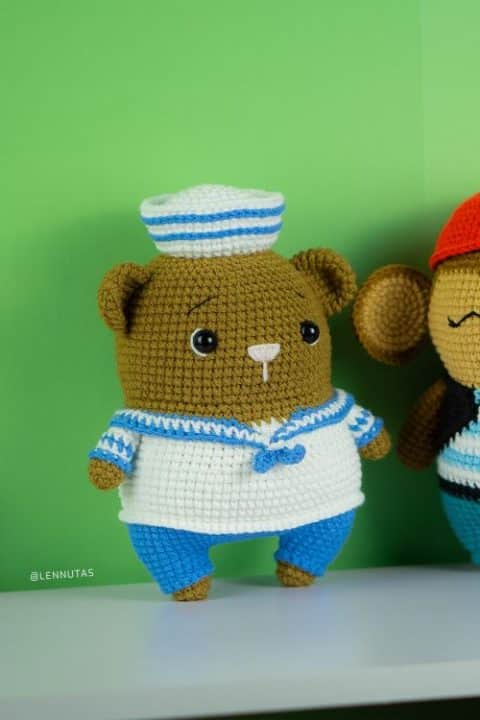
- Sew the arms to the body from round 27.
- Sew the ears to the head from round 38 to round 45.
- Sew the hat to the top of the head.
- Use black thread to embroider the eyebrows from round 41 to round 42.
- Use pink thread to embroider the nose at round 36 of the head, between 2 eyes.
- Use white thread to embroider the highlight on the side of the eyes.
Congratulations! Don’t hesitate to ask me any questions about this amigurumi bear free pattern, leave me a comment below.
Share your finished sailor bear on social networks Instagram or Facebook using handle @lennutas
My latest free amigurumi patterns you might be interested in:
Click here to view all free amigurumi patterns
Find this pattern helpful? Please support my efforts by buying me a coffee and getting access to My Patterns Library and downloading all free PDF files! Click to find out
Join my list to receive the first free pattern and get notified once I publish a new free pattern.

