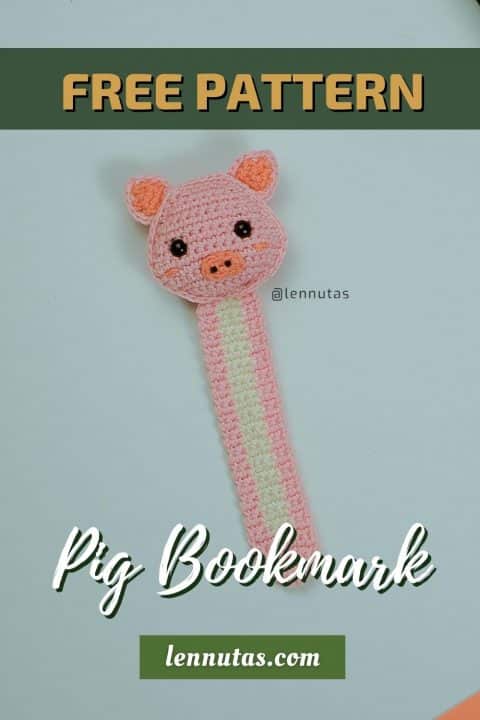
Pig crochet bookmark pattern free for crochet and bookmark lovers. If you love my animal bookmark crochet pattern collection, don’t forget to check out this full collection.
More free bookmark crochet patterns on my blog, click here to check them out.
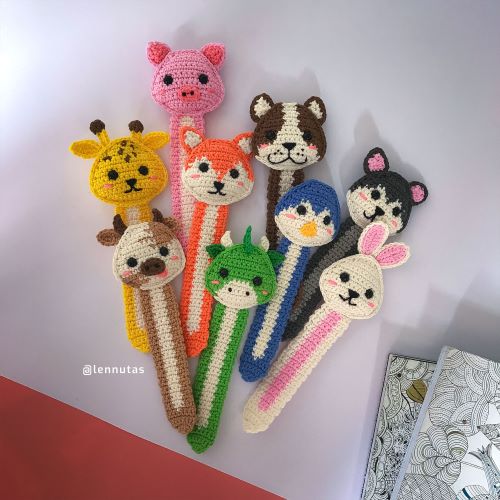
Animal Bookmarks
- Beautiful PDF printable file (no ads) that includes 9 adorable bookmark patterns.
- Easy to follow with full photo and video tutorials for beginners.
- Available in English. Instant download after payment.
Save this pattern to Pinterest for viewing later
Materials
All my bookmarks have been made with 100% cotton and super fine weight yarn #1. I suggest you using this brand yarn, Yarnart begonia. It has a lot of colors for you to choose from. So that you can make a lot of bookmarks with various colors, that will make a colorful bookmark collection. Make with your favorite colors if you like or use like my colors you have seen.
I’m also using hook size 1.5 mm and Hamanaka is one of my favorite brands, find and buy Hamanaka hook on ETSY.
Besides, you will need some extra kinds of stuff as follows:
- Scissors, pins, needles, stuffings.
- Pair of safety eyes: size 8 mm.
If you are looking for the best yarn for amigurumi projects? Read the post about my best yarn for amigurumi to find out more.
Abbreviations
- Ch: Chain
- Sc: Single crochet stitch
- Inc: Single crochet increase stitch
- Dec: Single crochet decrease stitch
- St/ sts: Stitch / Stitches
- Ss: Slip stitch
- (…): Number of stitches of each row
- {…}: Work instructions within brackets into the same stitch
Recommended easy pattern to crochet for beginners. You might need to check out my basic crochet stitches tutorial.
Pattern notes:
- This pattern is made by separate pieces worked in flat rows and then joined together to give a 2D look.
- Start from the bottom to the top, ch 1 and turn at the end of each row. (Do not join rounds unless otherwise specified.)
- For a better result, use single crochet cross stitch (yarn under) and invisible single crochet decrease stitch.
- Make sure to always drop your yarn on the WRONG side of your pieces when changing colors.
- The size of the bookmark will depend on the yarn you use. The finished bookmark was
- made with 1mm yarn, size is approximately 5.5 inches (14cm).
Pig Crochet Bookmark PDF
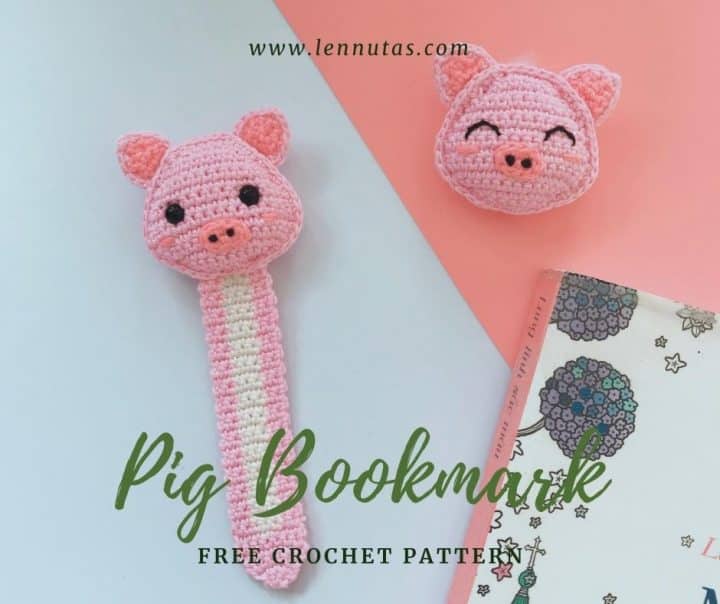
Print-ready PDF File
Want to download a printable beautiful PDF file with no ads? Consider buying a PDF pattern file in my store. The pattern is available in English, with many photo tutorials and well-written step-by-step patterns. Instant download after payment.
[Copyright Notice] This pattern was written, designed, and copyright held by, Lennutas. You are not permitted to copy, share, edit, upload or redistribute this pattern in any way, this includes making video tutorials or translating into other languages. Personal use only.
Pig Crochet Bookmark Pattern Free
Strap
Start with light pink yarn
Ch 1, and turn at the end of each row
- Row 1: ch 2, {sc 3} in 2nd ch from the hook (3sts)
- Row 2: inc, sc, inc (5sts)
- Row 3: inc, sc 3, inc (7sts)
- Row 4-5 (2 rows): sc 7 (7sts)
Change to cream yarn on BOLD stitches
- Row 6: sc 3, sc, sc 3 (7sts)
- Row 7-35 (29 rows): sc 2, sc 3, sc 2 (7sts)
- Row 36: sc 7 (7sts)
Continue working as long as you want.
Fasten off, leave a long tail for sewing.
TIP: To have a perfect wrong side, use two strands of light pink yarns at once when changing colors.
My latest free amigurumi patterns you might be interested in:
Click here to view all free amigurumi patterns
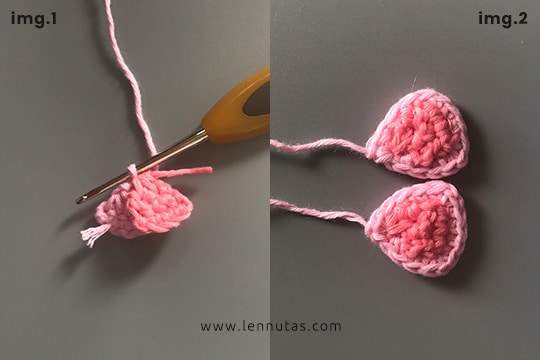
Ears (x2)
Front ears
Use dark pink yarn
Ch 1 and turn at the end of each row:
- Row 1: ch 5, sc in 2nd ch from the hook, sc 3 (4 sts)
- Row 2: dec 2 (2 sts)
- Row 3: dec (1 st)
Fasten off.

Enter your email address to get a simple PDF file of this pattern:
Back ears
Work exactly the same as the front ears with light pink color
Do not fasten off. Place the two ears together, matching up all sides. Make sure the front ear is facing you, sc around to join. Do {sc, ch 1, sc} in each corner.
Do not stuff.
Fasten off, leave a long tail for sewing.
Nose
Use dark pink yarn
Ch 4, and stitches are now working on both sides of the foundation chain.
- Sc in 2nd ch from the hook, sc, {sc 3}, sc, inc.
Fasten off, leave a long tail for sewing.
FRONT FACE
Use light pink yarn
Ch 1, and turn at the end of each row:
- Row 1: ch 8, sc in 2nd ch from the hook, sc 6 (7sts)
- Row 2: inc 2, sc 3, inc 2 (11sts)
- Row 3: inc, sc 9, inc (13sts)
- Row 4: inc 2, sc 9, inc 2 (17sts)
- Row 5-6 (2 rows): sc 7 (17sts)
- Row 7: dec, sc 13, dec (15sts)
- Row 8: sc 15 (15sts)
- Row 9: dec, sc 11, dec (13sts)
- Row 10: sc 13 (13sts)
- Row 11: dec, sc 9, dec (11sts)
- Row 12: dec, sc 7, dec (9sts)
- Row 13: dec, sc 5, dec (7sts)
- Row 14: dec, sc 3, dec (5sts)
Fasten off.
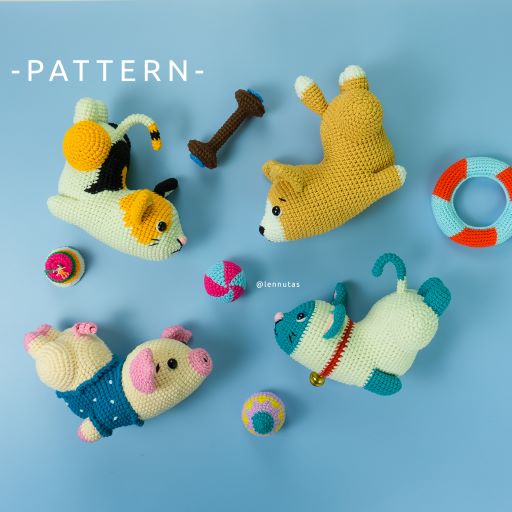
Yoga Pets
- A printable and beautiful PDF file (no ads)
- Detailed instructions, easy to follow with full photo and video tutorials.
- Available in English, Spanish, and Portuguese.
- Instant download after payment.
BACK FACE
Work exactly the same as the front face
Do not fasten off.
Click here to view fun ideas for crocheting amigurumi toys with most loved animals in dabbing postures.
ASSEMBLY
1- Insert an 8 mm safety eye onto the front face about 4 stitches in from the left and right edge of row 7 and 8. (or embroider the eyes by using black thread about 2 stitches in from the left and right edge of row 7 and 8)
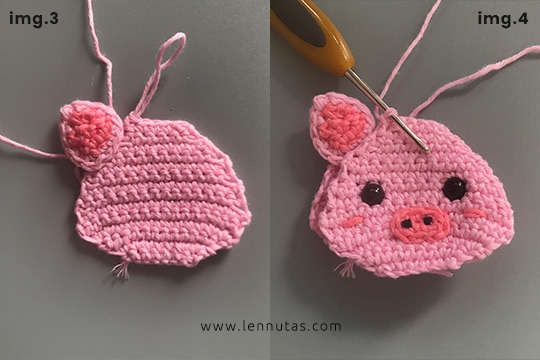
2- Sew the nose between the eyes at row 5, and embroider cheeks with dark pink yarn.
3- Sew the right ear to the back face, don’t weave in, leave the tail for step 4.
4- Place two faces together, matching up all sides. Make sure the front face is facing you, continue sc on the front face only, til the end of the ear, sc both layers. Use the remaining tail in step 3 to sew the ear to the front face.
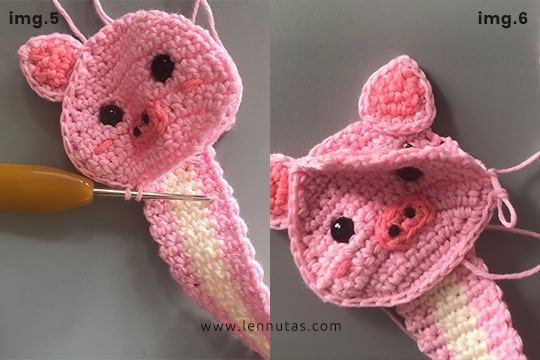
TIP: Be sure to crochet loosely around so that the edge keeps its nice curve.
5- When you reach the bottom (foundation chain), sew the strap stitch by stitch on back face, don’t tie off, leave the tail for step 7.
6- Sc 7 front face only.
7- Sc both layers again. Use the remaining tail at step 5 to sew the strap onto the front face.
8- Sew the left ear to the back face. Start stuffing. Then work exactly the same as the right side.
9- Stuff as you go. When you are satisfied with the stuffing, close with an ss to the last stitch.
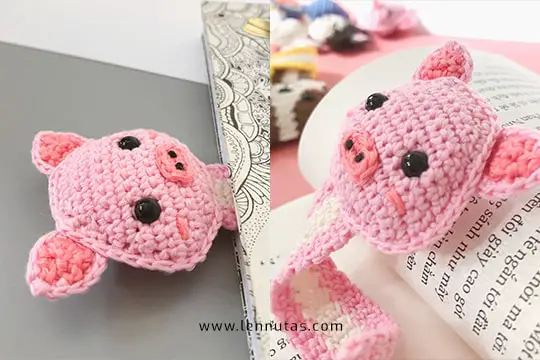
Congrats to you!
You have done an adorable pig bookmark and it’s ready to be gifted to your children in the next back-to-school season. I hope you love this pig crochet bookmark pattern free.
Love to check out more crochet ideas for gifts? Click here
Recommended patterns for Halloween:
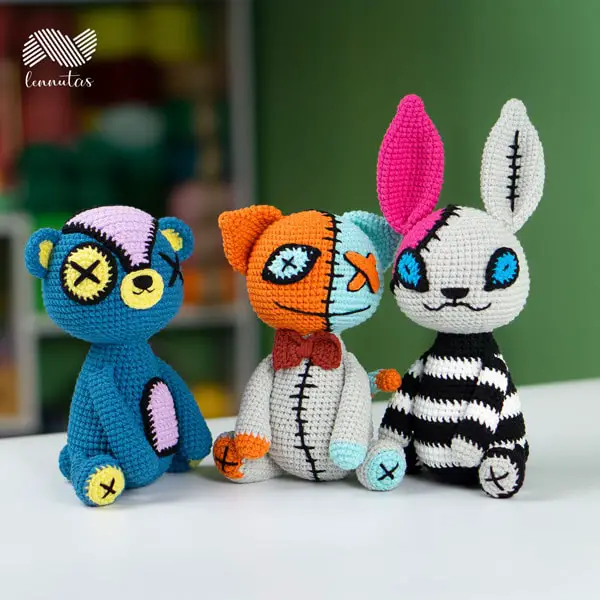
Creepy 1
A beautiful PDF printable file (no ads) includes 3 patterns: bear, cat, and rabbit. Available in English. Instant download after payment.
Crochet Pattern Video Tutorials
Besides this pig crochet bookmark pattern free, you now have more rooms to crochet a lot of crocheted toys by watching my video tutorial on my Youtube channel.
I’m creating a lot of amigurumi video tutorials on my Youtube channel, so make sure you subscribed to Lennutas Youtube channel, you will get notified once a new video is published.
Check out more free amigurumi patterns on my blog or search by using the following form:
Join my list to get notified of new free patterns, PDFs, and exclusive offers.

Pouvons nous avoir le pdf en français ou la possibilité d’avoir la traduction
Merci
Félicitations pou vos jolis modèles
I’m sorry. Only English is available for this pattern. Thank you for your interest!